

Browser-based tool · Free core workflow

Free Drawing Grid Tool

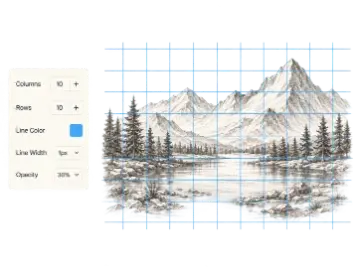
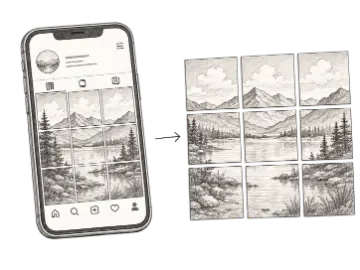
Create an adjustable drawing grid over any reference image for the grid method. Match the rows and columns on your paper or canvas, then transfer proportions one cell at a time.

Use Free Drawing Grid Tool

Loading this tool…

About Free Drawing Grid Tool

The Drawing Grid Tool prepares a reference for the classic grid method. Choose a simple or detailed row-and-column layout, then adjust labels, lines, crop, and rotation before transferring the image to paper or canvas.

What Is a Drawing Grid Tool?

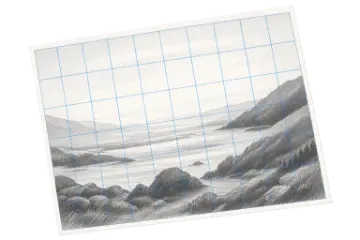
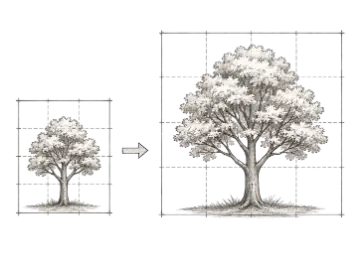
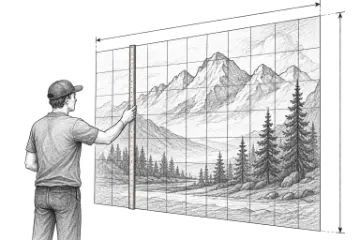
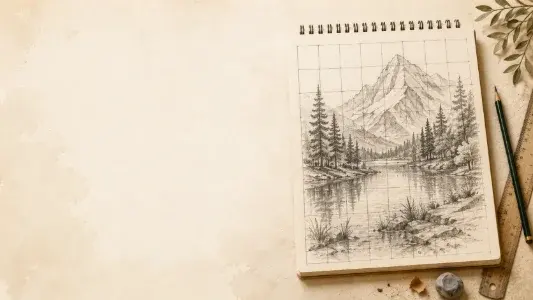
A drawing grid tool divides both a reference and a target surface into matching cells. Instead of judging the entire image at once, you compare where an edge enters and leaves one square, how much space surrounds a feature, and where important intersections occur. This grid method is useful for learning proportion and for enlarging artwork without specialized projection equipment. The grid supports observation; it does not replace the artist's decisions about gesture, value, or expression.

Using the Grid Method Without Distortion

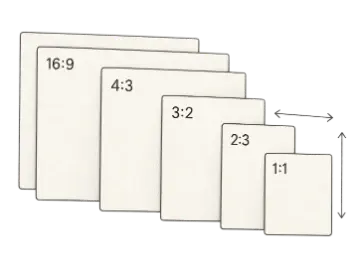
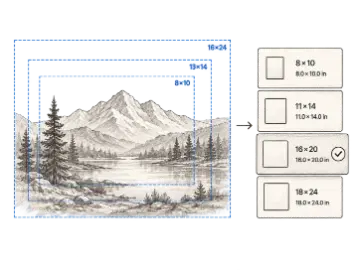
The reference grid and the grid drawn on paper, canvas, or wall must have the same number of rows and columns and the same overall aspect ratio. The target cells may be larger, but their width-to-height relationship must match the reference cells. Crop the image first, calculate the target proportions, and label corresponding squares. Plot major contours and intersections before rendering details so small errors do not accumulate across the drawing.

Choosing a Practical Grid for Drawing from Photos

Start with the lowest grid density that gives you dependable landmarks. A beginner may prefer 4×4 or 6×6, while portraits and detailed references may benefit from 8×8, 10×10, or denser layouts. Both rows and columns remain adjustable, as do line color, weight, opacity, and labels. The prepared reference can be downloaded as PNG or JPG while the original photo stays in your browser.

Drawing-grid plans for different transfers

Choose the cell count from the subject and target surface. The reference and target must use the same rows, columns, and overall aspect ratio even when their physical sizes differ.

First grid-method study

4×4 or 6×6 · labels on · simple object with a clear silhouette

Keeps the number of comparisons manageable while teaching how contours cross a cell.

Portrait transfer

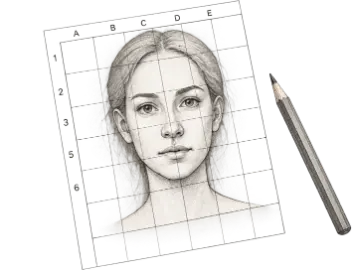
8×10 or 10×10 · low-opacity contrasting lines · crop locked

Adds checkpoints around facial features without hiding the value and edge information.

Larger canvas

Match the reference rows and columns · enlarge each target cell by one scale factor

Preserves proportion while allowing every cell on the target to be physically larger.

Works best with

  • Subjects with clear contours and landmarks
  • A reference crop that will not change mid-project
  • Target surfaces measured to the same aspect ratio

Expect extra cleanup with

  • Changing the crop after drawing the target grid
  • Using different row or column counts on the two surfaces
  • Adding more cells than you can measure accurately

Key Features

Adjustable Grid Density

Choose rows and columns that match the subject, target surface, and amount of detail you need to locate.

Matching Cell Labels

Use alphanumeric coordinates to keep your place while transferring a reference over several sessions.

Editable Grid Lines

Tune color, width, and opacity so the guide is visible across light and dark image areas.

Reference Preparation

Crop, rotate, and straighten the photo before locking in the grid used on the target surface.

Live Browser Preview

Review every drawing-grid adjustment immediately without uploading the reference to a conversion queue.

Studio-Ready Export

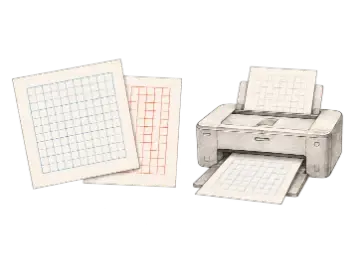
Download a PNG or JPG reference for viewing on a second screen or printing beside the artwork.

Drawing grid starting points

Choose grid density from the complexity of the reference and the learner's experience, not from a fixed rule.

OptionBest for
4×4 to 6×6Beginner
8×8 to 10×10General
12×12 or denserDetailed

How to use Free Drawing Grid Tool

  1. Step 1

    Prepare the reference

    Crop the image to the part you intend to draw and keep the subject orientation consistent with the target surface.

  2. Step 2

    Recreate the same grid

    Draw the matching number of rows and columns on paper or canvas, scaled to the target dimensions.

  3. Step 3

    Work cell by cell

    Block in major intersections and contours first, then remove or soften guide lines after proportions are established.

When this tool is useful

Learning proportion

Reduce the amount of visual information considered at one time while preserving the whole composition.

Accurate enlargement

Scale drawings without a projector by matching corresponding cells.

Collaborative lessons

Assign labeled cells to students and combine the completed sections into one image.

Frequently asked questions

What is the grid method for drawing?
The grid method divides a reference and target surface into matching cells. You transfer contours and landmarks one square at a time, which makes proportion and enlargement easier to judge than working from the whole image at once.
Why does the drawing grid start at 10×10?
A 10×10 grid provides useful landmarks for many portraits and illustrations without making the reference excessively busy. It is only a starting point; you can change both rows and columns.
Must the reference and canvas have the same aspect ratio?
Yes, if you want an undistorted transfer. The two surfaces can be different sizes, but their outer proportions and their number of grid cells must match. Otherwise the width and height will scale by different amounts.
Should I draw every detail one cell at a time?
Begin with major intersections, silhouettes, and directional changes across several cells. Once the overall placement is correct, refine smaller shapes. Treat the grid as a measuring aid rather than a boundary for every pencil mark.
Can beginners use a simpler drawing grid?
Yes. A 4×4 or 6×6 guide keeps attention on broad shapes and can be easier for first exercises. Increase density gradually as measuring skill and subject complexity grow.
Does Art Grid Maker upload my drawing reference?
No. The photo, drawing grid, and export are processed locally in the browser. You should still use a reference that you created or have permission to reproduce.

Keep your studio workflow in one place

Drop a reference, draw cell by cell. When you need the paid workflow, unlock 4k and transparent png export.