





Browser-based tool · Free core workflow

Free Mural Scaling Calculator

Use the free mural scaling calculator to find enlargement ratios and proportional grid-cell measurements. Pro adds chalk-line coordinates, paint estimates, and a printable field plan.

Use Free Mural Scaling Calculator

Loading this tool…

About Free Mural Scaling Calculator

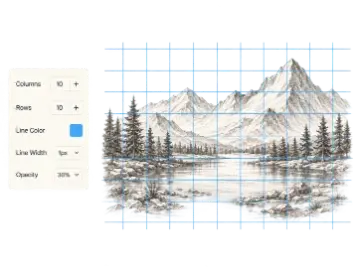
The free Mural Scaling Calculator converts reference and wall measurements into an enlargement ratio and proportional grid-cell dimensions. Pro adds calculated chalk-line offsets, paint and primer estimates, and a printable field plan.

Mastering Large-Scale Enlargement with the Grid Method

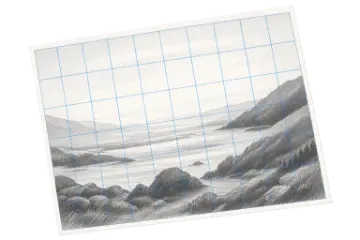
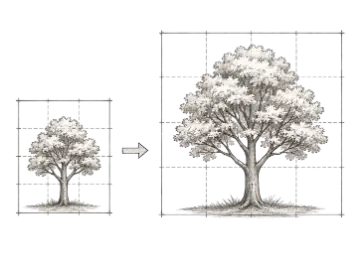
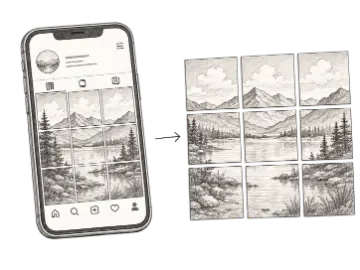
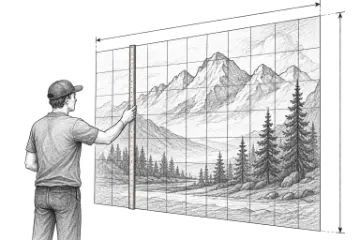
The grid method is a practical way to enlarge a sketchbook concept onto a wall when you can establish measurable horizontal and vertical guides. It works in daylight and does not require projector throw distance or power, but it is not automatically more accurate than projection: the result depends on correct dimensions, level and plumb setup, accessible wall geometry, and careful transfer. Test the marking method and surface before laying out the full grid.

From Sketch to Snap Lines: A Step-by-Step On-Site Workflow

1. Measure your usable wall area and record the dimensions in feet or meters.

2. Verify that your reference drawing shares the exact same aspect ratio as the target wall to prevent vertical or horizontal stretching.

3. Select a grid column count: 6–10 columns for bold graphic compositions or 12–20+ for complex realism.

4. Measure each line from a verified origin, or use the Pro coordinate table to plan horizontal level lines and vertical plumb marks.

5. Transfer your artwork cell-by-cell from top to bottom before applying base coats.

Essential On-Site Muralist Tool Checklist

Before working at height, prepare the measurement and access plan: a tape measure, level or laser, plumb reference, removable marking media tested on the substrate, edge-registration tape where compatible, and the coating system specified for the wall and exposure. Product coverage, primer, topcoat, access equipment, and site-safety requirements vary; confirm them with the manufacturer, property owner, and qualified site personnel rather than treating the calculator as a materials specification.

Common Scaling Pitfalls and How to Prevent Them

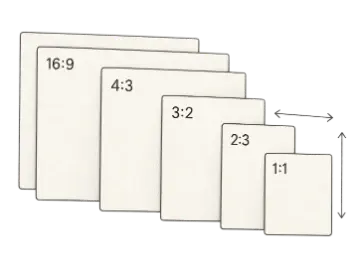
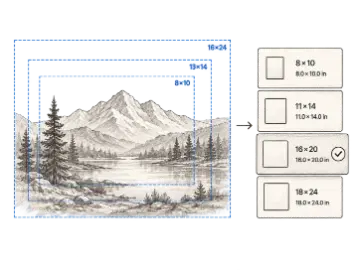
A mismatched reference and wall aspect ratio changes the shape of the transferred composition. Check the ratio indicator and intentionally crop the reference, revise the mural boundary, add margins, or accept the change before marking the wall. Also avoid a grid so coarse that one cell contains most of a critical face, letter, or logo; add subdivisions only where the extra landmarks justify the measuring time.

Worked mural scaling example

Convert both surfaces to comparable units, verify the aspect ratio, and turn the common scale into measurements that can be checked on site.

Example inputs

Reference sketch
12 × 8 in
Usable wall
18 × 12 ft (216 × 144 in)
Reference grid
12 columns × 8 rows

216 ÷ 12 = 18× · 144 ÷ 8 = 18× · wall cell = 18 in = 1.5 ft

Use an 18× enlargement with 1.5 × 1.5 ft wall cells.

The width and height factors agree, so the composition can transfer without stretching. Establish one level, plumb origin and verify the final boundary before snapping or drawing all grid lines.

Common input mistakes

  • Comparing feet on the wall directly with inches on the sketch
  • Using the full wall measurement instead of the usable mural boundary
  • Starting from an unverified or uneven corner
  • Treating paint coverage estimates as a substitute for the product data sheet

Key Features

Flexible Unit System

Combine sketch units such as inches, centimeters, or millimeters with wall dimensions in feet or meters.

Distortion & Ratio Alert

Real-time aspect ratio comparison warns you of stretching and provides instant one-click dimension fixes.

Pro: Chalk-Line Coordinate Table

Calculated tape-measure offsets for vertical and horizontal grid lines from the selected wall origin.

Pro: Paint & Primer Planning Estimate

Estimate volume from wall area, coat count, and assumed coverage, then verify against the chosen product data sheet.

Interactive Human Scale Preview

Visual wall simulation with scaled human silhouette to intuitively gauge true physical proportions.

Pro: Printable Field Blueprint (PDF)

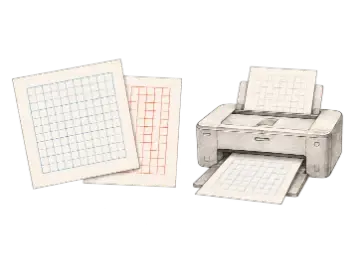
Export an A4 studio spec plan with dimension checklists, cell coordinates, and materials inventory.

Muralist Site Setup Reference

Planning ranges only; verify actual coverage and marking compatibility with the chosen products and prepared substrate.

OptionBest for
Smooth Surface Example~350–400 sq ft / gal (9–10 m² / L)
Textured Surface Example~200–250 sq ft / gal (5–6 m² / L)
Starting Cell Width1.5 ft – 3.0 ft (0.5 m – 1.0 m)
Marking MediaTest before use

How to use Free Mural Scaling Calculator

  1. Step 1

    1. Enter Sketch & Wall Dimensions

    Input your reference art size and target wall measurements in feet, meters, inches, or cm.

  2. Step 2

    2. Verify Proportions & Grid Density

    Ensure aspect ratios match and adjust column count until cell size is comfortable to draw within.

  3. Step 3

    3. Lay Out and Transfer the Grid

    Measure from a verified origin, or follow the Pro offset table, then transfer the artwork cell by cell.

When this tool is useful

Outdoor and Large-Surface Layouts

Plan a measured transfer where projection conditions or throw distance are unsuitable.

Interior Commercial & Residential Murals

Scale reference artwork for feature walls after confirming the usable boundary and substrate.

Client Proposals & Material Planning

Use the Pro planning estimate as a starting point, then verify product coverage and access requirements before quoting.

Frequently asked questions

How do you scale a drawing or sketch up to a large wall mural?
Divide the reference drawing and destination wall into matching proportional grids, then copy landmarks from each reference cell to its corresponding wall cell. Accurate measurements reduce proportional drift, but the final result still depends on the wall layout and transfer work.
How many grid columns and rows should I use on a mural?
For bold, graphic, or low-detail compositions, 6 to 10 columns are generally sufficient. For intricate portraits, organic figures, or detailed photorealism, use 12 to 25+ columns. The calculator automatically matches rows to your sketch's aspect ratio to ensure cells remain square.
How do I prevent image distortion when scaling to a wall?
Your reference image width-to-height ratio must match the target wall ratio if you want an undistorted transfer. The calculator shows the variance and adjustment options so you can crop the sketch, add margins, or change the mural boundary before laying down marks.
Why is the grid method often preferred over digital projectors on site?
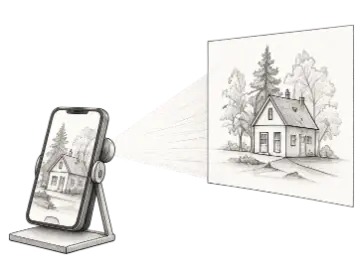
A measured grid can be practical when ambient light, power, throw distance, access, or surface relief makes projection difficult. Projectors can still be faster in suitable conditions, so choose the method that fits the site, equipment, and safety plan.
What chalk or media should I use to snap the grid lines on a wall?
Test a removable, low-stain marking method on an inconspicuous area and confirm compatibility with the primer, paint, and wall material. Some permanent chalks, graphite, or strongly pigmented marks can remain visible, so follow the coating manufacturer's preparation guidance.
How much paint and primer do I need for a mural project?
Paint volume depends on surface area, coat count, and wall porosity. Smooth primed drywall may achieve ~350–400 sq ft per gallon (9–10 m²/L), whereas textured stucco or exterior brick may absorb more. Pro includes a planning estimator for paint and primer; always verify its assumptions against the selected product data sheet and a test area.
What type of paint should I use for indoor vs outdoor murals?
Choose a coating system rated for the prepared substrate and exposure conditions. Outdoor work may need weather-resistant, lightfast products, while any clear coat must be compatible with the color layer. Follow the paint manufacturer's surface preparation, cure-time, and topcoat guidance.
How do I ensure chalk lines are perfectly level and plumb across a wide surface?
Use a laser level or a long 4ft spirit level to establish a true horizontal datum line near the base or center of the wall. Then, drop vertical plumb bobs or use a framing square to ensure grid columns are strictly 90 degrees vertical.

Keep your studio workflow in one place

Calculate mural scale. When you need the paid workflow, unlock printable mural blueprint pdf.