

Browser-based tool · Free core workflow

Free Grid Overlay Tool

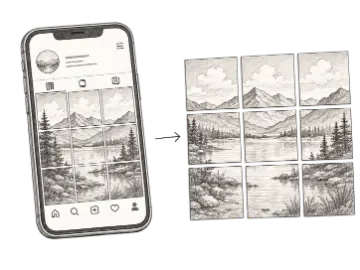
Add a customizable grid overlay to any reference image for drawing, proportion checks, and composition planning. Adjust the image and grid, then export the finished reference.

Use Free Grid Overlay Tool

Loading this tool…

About Free Grid Overlay Tool

Use the Grid Overlay Tool to place an adjustable drawing grid directly over a reference photo. Compare landmarks, angles, proportions, and negative space cell by cell while the image remains on your device.

What Is a Grid Overlay Tool?

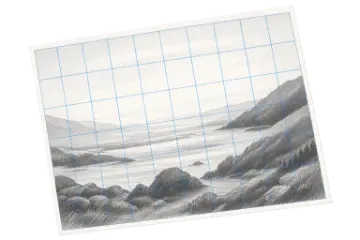
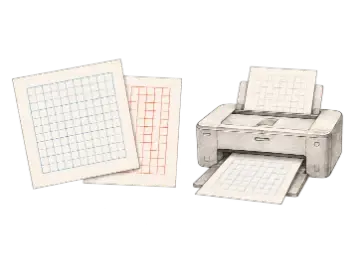
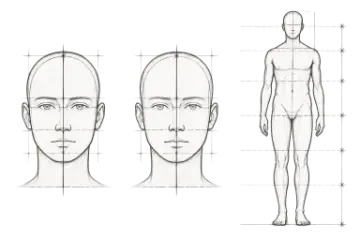
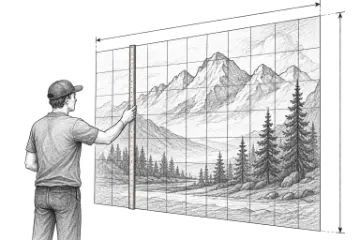
A grid overlay tool combines a reference image with evenly spaced horizontal and vertical guides. The resulting photo grid turns one complicated subject into a series of smaller areas that are easier to compare and transfer. Portrait artists can locate facial features, painters can preserve the placement of large shapes, and muralists can prepare a reference before scaling it to a wall. Unlike a blank grid generator, this tool keeps the guides attached to the image you are studying.

How to Choose the Right Grid Overlay

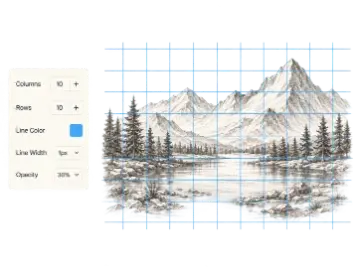
Start with a modest grid such as 6×6 or 8×8 and increase the density only when the subject contains small, important details. Choose a line color that contrasts with both the light and dark areas of the photo, then lower opacity until the grid remains readable without hiding edges. Crop and straighten the reference before deciding on the final grid because a later composition change will move every landmark into a different cell.

Private, Browser-Based Image Processing

Art Grid Maker creates the image grid overlay with browser canvas technology. Your reference is processed locally rather than uploaded for remote conversion. You can adjust rows, columns, line width, opacity, labels, crop, and rotation while viewing the result immediately, then export a PNG or JPG reference for your studio. Use only images you have permission to reproduce, especially when the finished artwork will be sold or published.

Grid overlay settings by image type

Line visibility depends on the reference, so adjust contrast and density after the final crop rather than applying one setting to every photo.

Dark or low-key photo

White or cyan lines · 55–70% opacity · 1–2 px width

The grid stays visible in shadows without masking the edges you need to observe.

Bright or high-key photo

Charcoal or dark blue lines · 45–60% opacity · thin width

Dark guides remain readable across pale backgrounds and lightly lit skin.

Detailed portrait

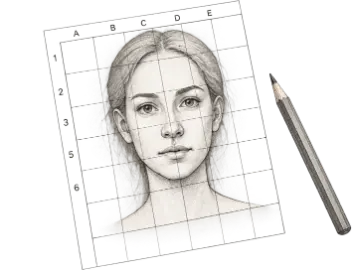
8×10 to 10×12 cells · labels optional · crop first

Provides repeatable facial landmarks while keeping eyes and mouth clear enough to study.

Works best with

  • Sharp, correctly oriented images
  • A clear subject with a settled final crop
  • References whose important contours remain visible beneath the grid

Expect extra cleanup with

  • Very small or heavily compressed files
  • Blurred references with no dependable edge
  • Busy textures that disappear under a dense grid

Key Features

Local Image Processing

Add a grid to a photo in your browser without sending the source image to Art Grid Maker servers.

Adjustable Rows and Columns

Choose a simple guide for broad shapes or a denser grid overlay for detailed transfer work.

Line Style Controls

Change grid color, stroke width, and opacity so guides stay visible across the whole reference.

Crop and Straighten

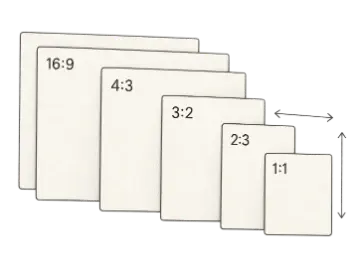
Prepare the final composition with common crop ratios, 90-degree rotation, and fine straightening.

Coordinate Labels

Enable cell labels when you need to discuss, teach, or transfer specific areas of the image.

PNG and JPG Export

Download the prepared grid overlay as a studio reference with no watermark or registration step.

Choosing grid overlay density

Use the fewest cells that still give you dependable landmarks; unnecessary density can hide the shapes you are trying to observe.

OptionBest for
4–6 cells per sideBroad shapes
8–12 cells per sideGeneral transfer
16+ cells per sideFine detail

How to use Free Grid Overlay Tool

  1. Step 1

    Load and prepare the reference

    Choose an image, then crop, rotate, or straighten it so the subject matches the composition you plan to draw.

  2. Step 2

    Match the grid to the subject

    Adjust rows and columns until important landmarks fall into cells that are easy to reproduce.

  3. Step 3

    Export a readable reference

    Set line contrast and opacity, enable labels when helpful, and download the overlaid image.

When this tool is useful

Portrait transfer

Track the placement of eyes, nose, mouth, and silhouette against consistent cell boundaries.

Painting enlargement

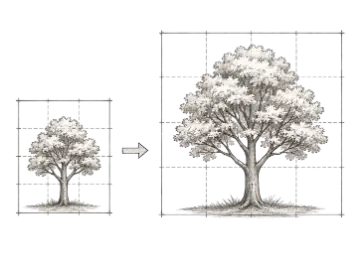
Transfer a small photograph onto a larger canvas while preserving relative placement.

Composition checks

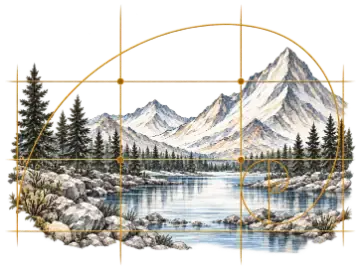
Compare major edges and empty spaces before committing to detailed rendering.

Frequently asked questions

What is a grid overlay tool?
A grid overlay tool places evenly spaced rows and columns over a reference image. Artists use the resulting photo grid to compare landmarks, angles, and negative space before transferring the subject to paper, canvas, or a wall.
Does my image leave my browser?
No. Art Grid Maker reads and renders the image locally in your browser. The reference is not uploaded to our server when you add, adjust, or export the grid overlay.
How do I transfer a drawing using the grid method?
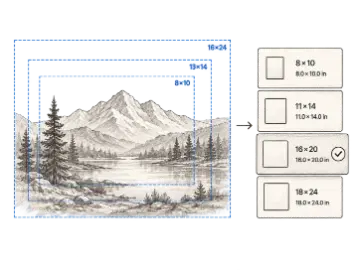
Add an 8×8 or similarly manageable grid to the reference, draw the same number of cells on the target surface, and copy major contours between matching squares. Preserve the same overall aspect ratio to avoid stretching.
How many grid squares should I use over a photo?
Use the lowest density that gives reliable landmarks. Four to six cells per side can suit simple shapes, while eight to twelve is a practical range for portraits and general drawing. Add more only for details that genuinely need them.
Can I change the grid color and opacity?
Yes. You can adjust line color, stroke width, and opacity so the overlay remains visible across both light and dark areas without covering important photo details.
Can I crop or straighten the image before export?
Yes. Prepare the final composition with crop ratios, 90-degree rotation, and fine straightening before settling on the row and column count, then download the finished overlay as PNG or JPG.

Keep your studio workflow in one place

Drop a reference image. When you need the paid workflow, unlock 4k and transparent png export.