The short answer
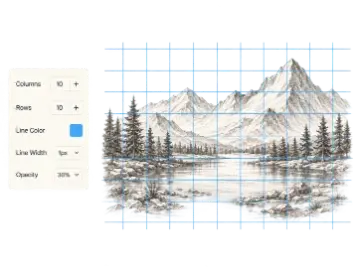
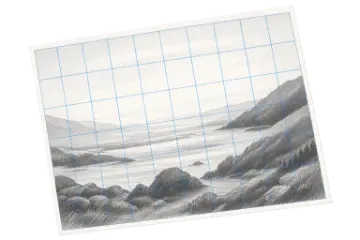
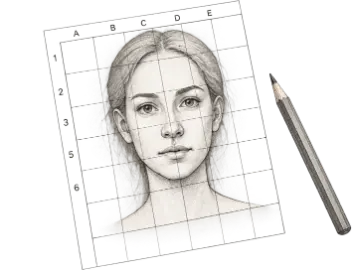
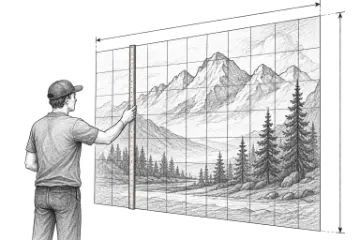
Use a grid when you need dependable scaling, a low-equipment workflow, or deliberate proportion practice. Use a lightbox or projector when speed matters and the display, surface, and lighting can stay stable. For complex work, combine them: project or trace the main contour, then use a light grid to verify landmarks and prevent drift.
Side-by-side comparison
| Decision factor | Grid method | Projector or lightbox |
|---|---|---|
| Best fit | Measured enlargement, proportion practice, murals, and any surface where matching cells can be marked | Fast contour transfer onto translucent paper, or onto a larger surface with separate projection hardware |
| Equipment | Ruler, straightedge, drawing surface, and a gridded reference | A bright screen for lightbox tracing, or a physical projector for casting an image |
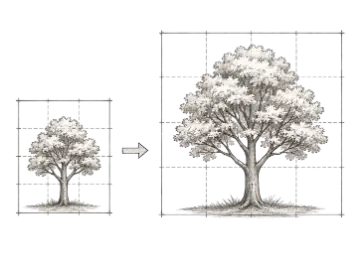
| Scaling | Works at small or very large sizes once the reference and target grids share proportions | Limited by screen size for tracing or by throw distance, brightness, and focus for projection |
| Drawing practice | Requires repeated observation of angles, landmarks, and negative space | Prioritizes placing an outline quickly; observation still matters when refining the drawing |
| Setup risk | Measurement errors or mismatched aspect ratios can distort the transfer | Movement, dim output, surface relief, or accidental keystone distortion can shift the outline |
Choose by the real constraint
Choose the grid method when…
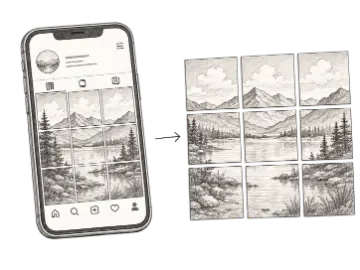
- you need to enlarge a reference to a canvas, board, or wall without projection hardware
- you want the transfer itself to train proportion and spatial observation
- ambient light, surface texture, access, or throw distance makes projection unreliable
- you need coordinates that let several people work on separate sections
Choose a projector or lightbox when…
- you need a fast contour transfer and already have a stable display or projector setup
- the paper is translucent enough for safe, low-pressure screen tracing
- the target surface is smooth, accessible, and dark enough for a projected image to remain visible
- you can lock the image position before marking and check that it is not stretched or skewed
A reliable workflow for either method
- 01
Lock the crop
Choose the final composition first. Changing the crop later invalidates grid measurements and projector alignment.
- 02
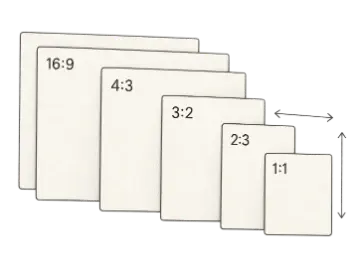
Match the aspect ratio
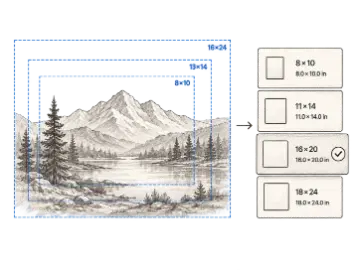
Confirm that the reference and target have the same width-to-height ratio, or plan a deliberate crop or margin.
- 03
Establish large landmarks
Place the silhouette, center line, and major angles before small contours. A fast outline can still be proportionally wrong.
- 04
Verify before detail
Measure several distant points, step back, and correct drift while the marks are still light.
Important projector and screen limits
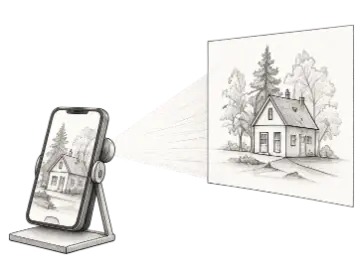
A browser cannot turn an ordinary tablet or laptop into a light projector. Art Grid Maker can prepare a fullscreen reference for tracing on a suitable display or for use with separate projection hardware. Wall projection still requires a real projector or optical setup.
When tracing over a display, keep the surface clean, use suitable translucent paper, apply very light pressure, and follow the device manufacturer’s handling guidance. When projecting, secure the equipment and recheck focus and alignment after any movement.
Start with the method that fits
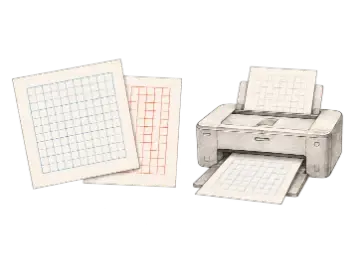
Build a measured reference grid, open a fullscreen tracing view, or review the full grid-method workflow before transferring your drawing.