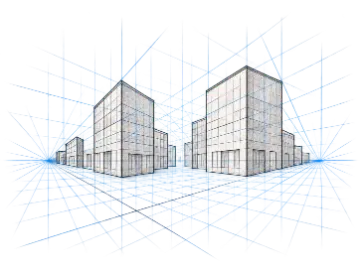
Centered room or corridor
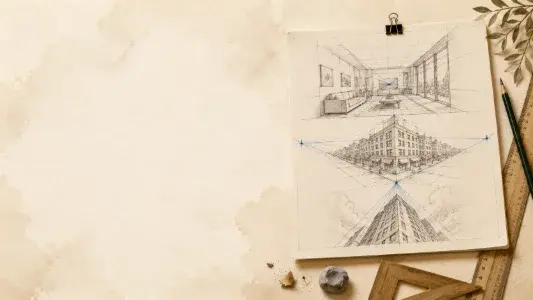
1-point mode · horizon near standing eye level · vanishing point at the main sight line · 12–16 guides
Front-facing walls remain parallel to the picture plane while depth edges converge consistently.
Create adjustable 1-point, 2-point, or 3-point perspective grids with draggable vanishing points and horizon controls for rooms, buildings, objects, and concept art.
Use the Perspective Grid Generator to construct one-point, two-point, or three-point guides with an adjustable horizon, movable vanishing points, and export options for drawing and digital overlays.
A perspective grid generator creates construction lines that converge toward one or more vanishing points. Those guides help artists keep repeated edges, floor planes, buildings, rooms, vehicles, and box-like objects consistent with a chosen viewpoint. Instead of drawing dozens of rays manually, you establish the horizon and convergence model once, then use the generated perspective grid as a temporary framework beneath the artwork.
One-point perspective suits a plane facing the viewer directly, such as a corridor or room wall, with depth lines meeting at one point. Two-point perspective is useful when an object's corner faces the viewer and the left and right edge families converge separately. Three-point perspective adds vertical convergence for dramatic high or low viewpoints. The mode should follow the scene geometry; adding more vanishing points does not automatically make a drawing more realistic.
The horizon represents eye level, so moving it changes how much of the tops or undersides of forms become visible. Wide separation between two vanishing points generally produces calmer geometry, while points close to the frame can create stronger wide-angle distortion. Art Grid Maker allows off-canvas point placement, guide-density control, opacity adjustment, and transparent export for layer-based applications. Keep the grid on its own layer so it can be faded or removed after construction.
Place the horizon from the viewer's eye level first. Then choose only the convergence families that the scene geometry actually needs.
1-point mode · horizon near standing eye level · vanishing point at the main sight line · 12–16 guides
Front-facing walls remain parallel to the picture plane while depth edges converge consistently.
2-point mode · wide-separated left and right points · moderate density
Two horizontal edge families converge independently without the extreme distortion caused by close vanishing points.
3-point mode · third point well above or below the frame · lower density first
Vertical edges converge with the chosen high or low viewpoint while the grid stays readable.
Generate one-point, two-point, or three-point construction grids for different scene geometries.
Position convergence points inside or beyond the canvas to control the apparent field of view.
Raise or lower eye level to plan neutral, bird's-eye, or worm's-eye compositions.
Add enough rays and vertical guides for the subject without burying the drawing in lines.
Set guide color, weight, and transparency for screen or print visibility.
Export standard guides or Pro 4K transparent PNGs for Procreate, Photoshop, and similar editors.
Match the number of vanishing points to the orientation of the forms and the viewpoint you actually need.
| Option | Best for | Notes |
|---|---|---|
| 1 point | Frontal view | Corridors, centered rooms, roads, and objects with a face parallel to the picture plane. |
| 2 points | Corner view | Buildings, furniture, boxes, and street scenes viewed at an angle. |
| 3 points | Dramatic height | Tall structures and views looking noticeably upward or downward. |
Use one point for frontal planes, two points for rotated objects, and three points when vertical convergence is visible.
Match the intended eye level and field of view before increasing line density.
Keep the guide distinct from artwork so opacity can be reduced or the grid removed later.
Establish streets, rooms, and architectural forms before adding detail.
Keep boxes, furniture, and manufactured forms aligned to consistent vanishing points.
Export a transparent guide for use above or below artwork in a layer-based editor.
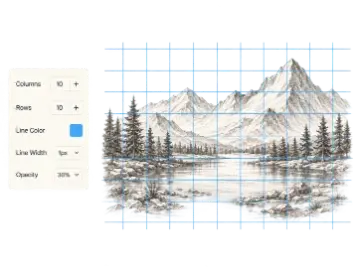
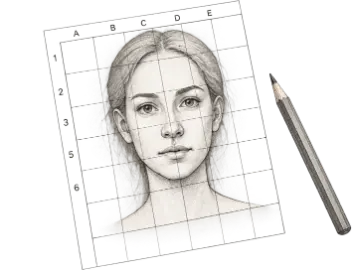
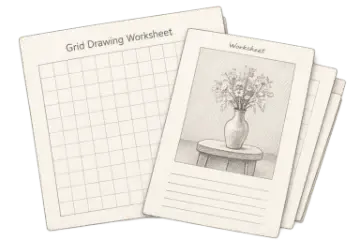
Create a custom grid with adjustable rows, columns, labels, line color, width, and opacity. Preview it instantly, then download it for drawing, layout, or print.
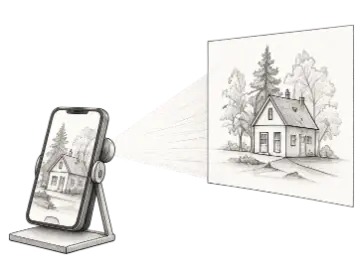
Use the Art Projector Screen on an iPad, tablet, or monitor as a fullscreen tracing lightbox and reference view. Load an image, adjust the grid, and prepare it for on-screen tracing or a separate projector setup.
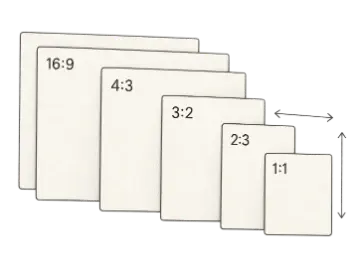
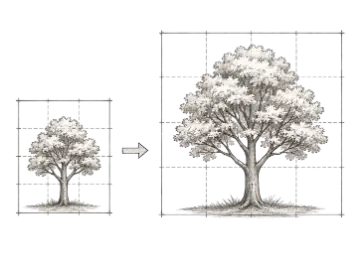
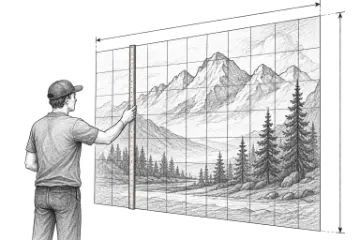
Use this proportion calculator to scale a drawing from a reference to a canvas, paper, or wall without distortion. Compare scale factors and matching grid-cell measurements.
Generate perspective grid. When you need the paid workflow, unlock 4k and transparent overlays.