

How the grid method works
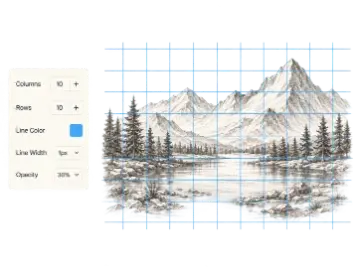
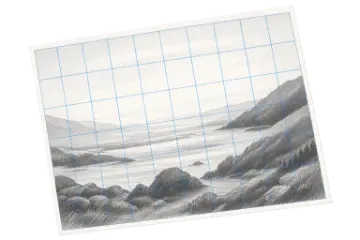
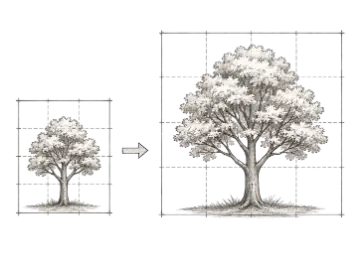
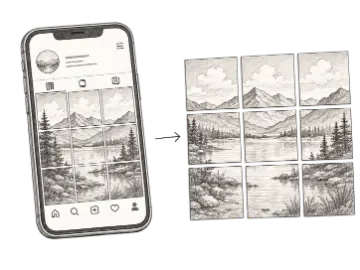
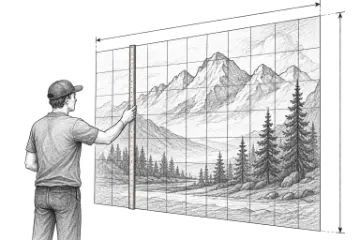
A matching grid creates a shared coordinate system. Instead of judging the whole subject at once, you compare where a contour enters and leaves a cell, where it crosses a row or column, and how much negative space surrounds it. The target can be the same size as the reference, larger, or smaller; the important constraint is that both grids keep the same number of rows and columns and the same overall proportions.
- 01
Prepare the reference
Crop to the composition you intend to draw. Make this decision before calculating the grid so the reference aspect ratio stays fixed.
- 02
Choose rows and columns
Start with the lowest density that gives you reliable landmarks. Add divisions only when they help locate meaningful changes in shape.
- 03
Recreate the grid
Draw the same row and column count on the target. Measure the target cells from the final paper, canvas, wall, or worksheet dimensions.
- 04
Transfer large shapes first
Mark major intersections, angles, and negative spaces before details. Step back regularly and compare the whole silhouette.
Choose the least dense useful grid
Grid density is a tradeoff. Larger cells make the underlying shapes easier to see and keep setup fast. Smaller cells provide more intersections, but they can turn the exercise into copying marks instead of observing relationships. Start coarse, test the difficult area, and add rows or columns only if you cannot place an important feature confidently.
| Starting density | Useful for | Watch for |
|---|---|---|
| 4–6 cells per side | Simple silhouettes and early composition checks | Too few landmarks for small facial or architectural details |
| 8–12 cells per side | Portraits, animals, and general reference transfer | A practical starting range, not a rule for every subject |
| 16+ cells per side | Dense detail or a large target surface | More cells increase setup and make it easier to lose your place |
Scale the grid without distorting it
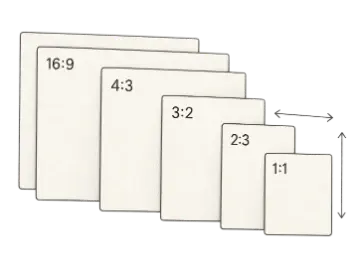
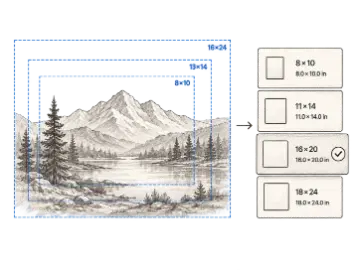
First confirm that reference width ÷ reference height matches target width ÷ target height. If the ratios differ, crop one surface or accept empty margins; changing only one dimension stretches the subject. Once the proportions match, target cell width equals target width ÷ columns, and target cell height equals target height ÷ rows.
Worked example
A 12 × 18 inch reference ratio is 2:3. A 24 × 36 inch canvas has the same ratio, so an 8-column by 12-row grid transfers cleanly. Each target cell is 24 ÷ 8 = 3 inches wide and 36 ÷ 12 = 3 inches high. If the canvas were 24 × 30 inches, the ratios would not match and the image would need cropping or margins.
Common mistakes and how to correct them
The subject looks stretched
Recheck the overall aspect ratio and the row-to-column count. Do not make target cells square unless the reference cells are also square.
You keep losing your place
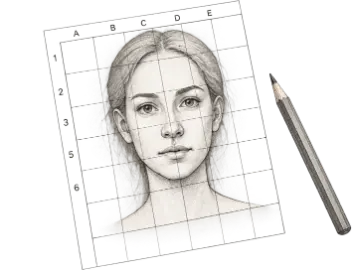
Enable coordinate labels or lightly number the margins. Finish large landmarks in one area before moving to isolated details.
The grid hides the reference
Reduce line opacity, use a contrasting color, or choose fewer cells. The guide should remain visible without becoming the dominant shape.
Individual cells look right, but the whole drawing does not
Step back and compare the silhouette, center line, major angles, and negative spaces. A grid supports whole-form checks; it does not replace them.
Grid transfer and perspective grids are different tools
A transfer grid maps positions between two flat rectangles. A perspective grid constructs spatial depth with a horizon and one or more vanishing points. Both use geometry, but they solve different drawing problems. Use the perspective grid generator when you need converging guides for rooms, streets, or objects rather than a cell-by-cell copy of a reference.
Historical evidence and further reading
Grids are documented as working tools, not only as modern classroom exercises. The National Gallery of Art reports that infrared examination of a seventeenth-century painting revealed a grid used to transfer its underdrawing. The Metropolitan Museum of Art describes Albrecht Dürer’s 1525 geometry manual and its treatment of perspective for artists. These sources also show why transfer grids and perspective constructions should not be treated as the same method.
Choose the next tool by job
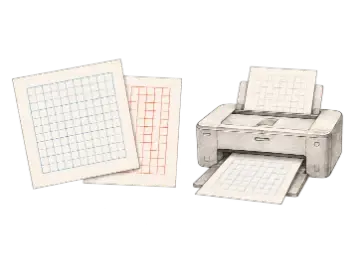
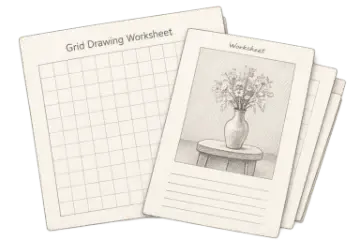
Add a grid to an image for reference transfer, print a matching blank grid for paper, or create a paired classroom activity.